

TL;DR:
- A solar-powered camping setup consists of solar panels, a battery-based power station, and connecting accessories suitable for different camping styles. Proper matching of panel wattage and battery capacity is crucial to ensure efficiency and meet specific energy needs, whether for backpacking, car camping, or overlanding. The key to effective solar camping is sizing systems based on device usage, ensuring voltage compatibility, and optimizing panel positioning for maximum output.
A solar-powered camping setup is a portable energy system built around solar panels, a battery-based power station, and the cables and accessories that connect them. The best examples of solar-powered camping setups match panel wattage and battery capacity precisely to your camping style, whether you are a solo backpacker covering miles on foot or an overlander parked off-grid for weeks. Three main profiles define the field in 2026: the lightweight backpacking rig at 60–120W and 200–300Wh, the mid-range car camping kit at 100–200W and 500–1,000Wh, and the high-capacity overlanding system at 400W or more with a 200Ah LiFePO4 battery bank. Getting that match right is the single most important decision you will make before buying any solar camping gear.
1. Compact solar setups for backpacking and minimalist campers
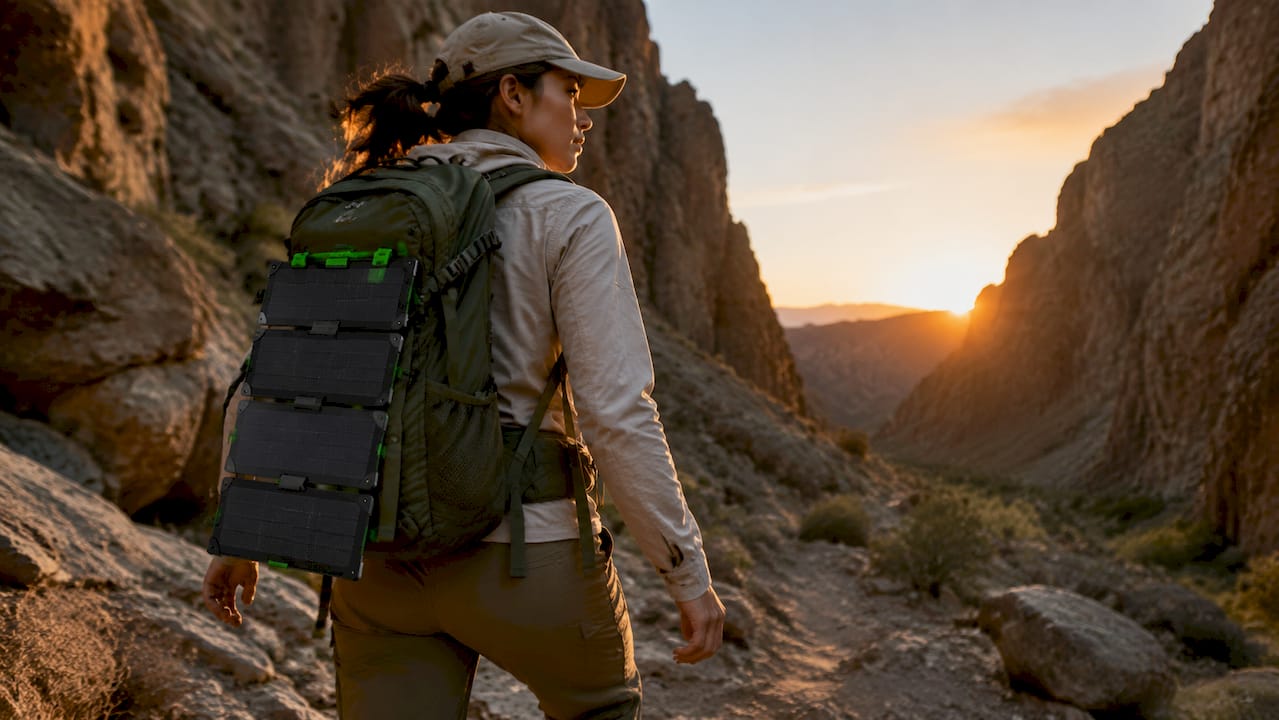
Lightweight backpacking rigs use 60–120W foldable panels paired with 200–300Wh power banks, keeping total system weight at 5–7 lbs. That weight ceiling is the defining constraint of this category. Every component choice flows from it.
The devices this setup supports are intentional and limited:
- Smartphones and GPS units (5–20W each)
- Headlamps and USB lanterns (2–5W)
- Small action cameras and earbuds
- Emergency satellite communicators
A 100W foldable panel in full sun generates roughly 400–600Wh over a six-hour solar window, which is more than enough to keep a smartphone and GPS topped off daily. Output drops significantly on overcast days, so carrying a partially charged power bank into camp is standard practice for experienced backpackers.
Panel angle matters more at this scale than at any other. Panels lose roughly 30% efficiency when not aimed directly at the sun. Most foldable panels include a kickstand. Use it, and reposition the panel every two hours as the sun moves.
For campers whose only real needs are light and occasional phone charging, integrated solar lanterns with built-in chargers are a smarter and lighter choice than a full modular setup. They eliminate cables, reduce pack weight, and handle the two most common camp power tasks without any extra gear.
Pro Tip: Clip your foldable panel to the back of your pack while hiking. You will harvest 1–2 hours of charging time during a full day on the trail without stopping.
2. Mid-range solar setups for car campers and weekend adventurers
The car camping solar setup is the most practical and widely used configuration for weekend adventurers. It centers on a 100–200W folding portable solar panel and a 500–1,000Wh portable power station. This combination handles the devices most families and small groups actually use at camp.
Typical supported devices include:
- 12V portable fridge or cooler (40–60W continuous)
- Smartphones and tablets (5–20W each)
- LED camp lighting strings (10–20W total)
- USB fans for warm-weather comfort (10–25W)
- Camera batteries and portable speakers
A 200W panel paired with a 1,000Wh power station is the recognized sweet spot for this category. Under full sun, that combination yields 1,000–1,400Wh per day. On cloudy days, output drops by about 60%, so your power station’s stored capacity becomes your safety net.
| Setup component | Specification | Purpose |
|---|---|---|
| Solar panel | 100–200W folding | Daily battery replenishment |
| Power station | 500–1,000Wh | Device and appliance power |
| Output ports | AC, USB-A, USB-C, 12V | Multi-device compatibility |
| Recharge time | 5–6 hours direct sun | Full station top-up |
200W panels recharge a 1,000Wh station in about 5–6 hours of direct sunlight when repositioned a couple of times during the day. That means a morning setup and one midday adjustment keeps your station full by late afternoon.
Setup ease is a real advantage of this category. Most folding panels unfold and connect in under five minutes. The power station sits in your vehicle or at camp and runs devices directly. There are no roof mounts, no wiring, and no permanent installation required.
Pro Tip: Run your portable fridge off the power station overnight and charge the station during daylight hours. This cycle keeps food cold without draining your battery before solar replenishment kicks in.
3. High-capacity solar setups for overlanders and extended off-grid camping
Overlanding and extended off-grid camping demand a fundamentally different approach to solar power. The standard overlanding recommendation is a 400W solar array, a 200Ah LiFePO4 battery bank, and a 2,000W pure sine wave inverter. This configuration supports daily energy use exceeding 2,000Wh.
At this scale, the system can power:
- Portable air conditioning units (300–600W)
- Electric cooking appliances like induction cooktops (1,000–1,800W)
- Full-size refrigerators or freezer units (80–150W continuous)
- Laptop computers and workstations (45–100W)
- CPAP machines and medical devices (30–60W)
- Multiple USB charging hubs simultaneously
LiFePO4 chemistry is the right battery choice for this category. It tolerates deep discharge cycles far better than older lithium-ion chemistries, delivers more usable capacity per charge, and maintains stable performance across a wider temperature range. A 200Ah LiFePO4 bank at 12V holds 2,400Wh of usable energy, enough to run a camp fridge for 24 hours and still have reserve power.
System integration options at this level include roof-mounted rigid panels on a vehicle or trailer, ground-deployed foldable arrays, or a combination of both. Roof mounting maximizes passive charging while driving. Ground arrays allow you to park in shade and position panels in full sun separately.
The portability trade-off is real. A 400W rigid panel array with mounting hardware weighs 60–80 lbs. The battery bank adds another 40–60 lbs. This is a setup for campers who drive to a site and stay, not for those who move camp daily.
4. Comparing solar camping setups: a feature overview
Choosing between setup categories comes down to three variables: how you travel, how long you stay, and which devices you cannot leave behind.
| Category | Panel wattage | Battery capacity | System weight | Best for |
|---|---|---|---|---|
| Backpacking | 60–120W | 200–300Wh | 5–7 lbs | Solo hikers, ultralight campers |
| Car camping | 100–200W | 500–1,000Wh | 15–25 lbs | Families, weekend trips |
| Overlanding | 400W+ | 2,000Wh+ | 60–100 lbs | Extended stays, heavy appliances |
Voltage compatibility is a non-negotiable factor across all three categories. Most power stations accept 12–45V input. Before buying any panel, check its open-circuit voltage against your station’s maximum input. A mismatch prevents charging and can damage both components.
Panel and battery matching follows a simple rule: size your battery to cover one full night of use without solar input, then size your panels to replenish that battery in one day of sun. This approach works at every scale, from a 200Wh backpacking bank to a 2,000Wh overlanding system.
Pro Tip: When choosing between two power station sizes, pick the larger one. You will always find devices to charge. You will never wish you had less capacity.
5. Tips and strategies to get the most from your solar camping setup
Maximizing your solar setup’s output starts with panel placement. Adjusting panel angle and eliminating shadows can increase output by up to 30%. Check panel position every two hours and clear any partial shading from trees or gear.
Key practices that protect performance and extend battery life:
- Match voltage before connecting. Verify your panel’s open-circuit voltage against your station’s input limit every time you use new equipment.
- Insulate batteries in cold weather. Cold temperatures increase internal resistance and reduce capacity. Keep your power station inside your tent or sleeping bag area overnight.
- Stagger high-draw activities. Run your induction cooktop, then charge devices. Avoid running multiple high-wattage loads at the same time.
- Use low-power modes on devices. Screen brightness and background app refresh are the two biggest hidden power drains on smartphones.
- Carry a solar lantern as backup. For light and minimal charging, a solar lantern with a built-in charger adds almost no weight and covers your needs if your main system underperforms.
Solar power is a replenishment system, not an instant power source. Your battery bank is your actual power supply. Size it first, then size your panels to refill it.
Pro Tip: Check your power station wattage needs before every trip, not just before purchase. A weekend with extra guests changes your energy math significantly.
Key takeaways
The most effective solar camping setup matches battery capacity to your actual nightly power draw first, then sizes the solar panel array to replenish that battery within one day of sun.
| Point | Details |
|---|---|
| Match system to camping style | Backpackers need 60–120W and 200–300Wh; car campers need 100–200W and 500–1,000Wh. |
| Battery capacity is the foundation | Size your battery to cover one full night without solar, then add panels to refill it daily. |
| Voltage compatibility is critical | Verify panel open-circuit voltage against your station’s input limit before every new pairing. |
| Panel angle drives efficiency | Repositioning panels every two hours can recover up to 30% of lost output. |
| Cold weather requires insulation | Storing your power station in a warm space overnight preserves battery capacity for morning charging. |
What I’ve learned after years of solar camping setups
The most common mistake I see is campers buying the biggest panel they can afford and pairing it with an undersized battery. The panel sits in the sun all day, the battery fills in two hours, and the rest of the solar energy goes to waste. The most common sizing mistake is oversizing panels or stations instead of matching systems to actual power demands. That finding matches what I have seen in the field repeatedly.
My honest recommendation: start with your battery. Write down every device you plan to use, estimate its wattage and daily hours of use, and add 20% as a buffer. That number is your minimum battery capacity. Then choose a panel that can refill that battery in a single day of reasonable sun. This process takes 20 minutes and saves you from buying the wrong gear.
Weight and cost are real trade-offs, but they are not the most important ones. The most important trade-off is specificity. A setup built for your trip performs better than a generic “all-purpose” kit every time. A solo hiker’s needs differ radically from a family’s, and no single product bridges that gap cleanly.
Solar power as a replenishment system is the mental model that changes how campers use their gear. Once you stop thinking of panels as the power source and start thinking of the battery as the power source, your decisions get clearer and your trips get better.
— Jackson
Reliable solar power for your next adventure, from Toddra
Toddra carries a carefully selected range of solar generators and portable power stations built for every camping profile described here. From compact setups for weekend car campers to high-capacity systems for extended off-grid stays, each product is chosen for dependable performance and real-world durability.
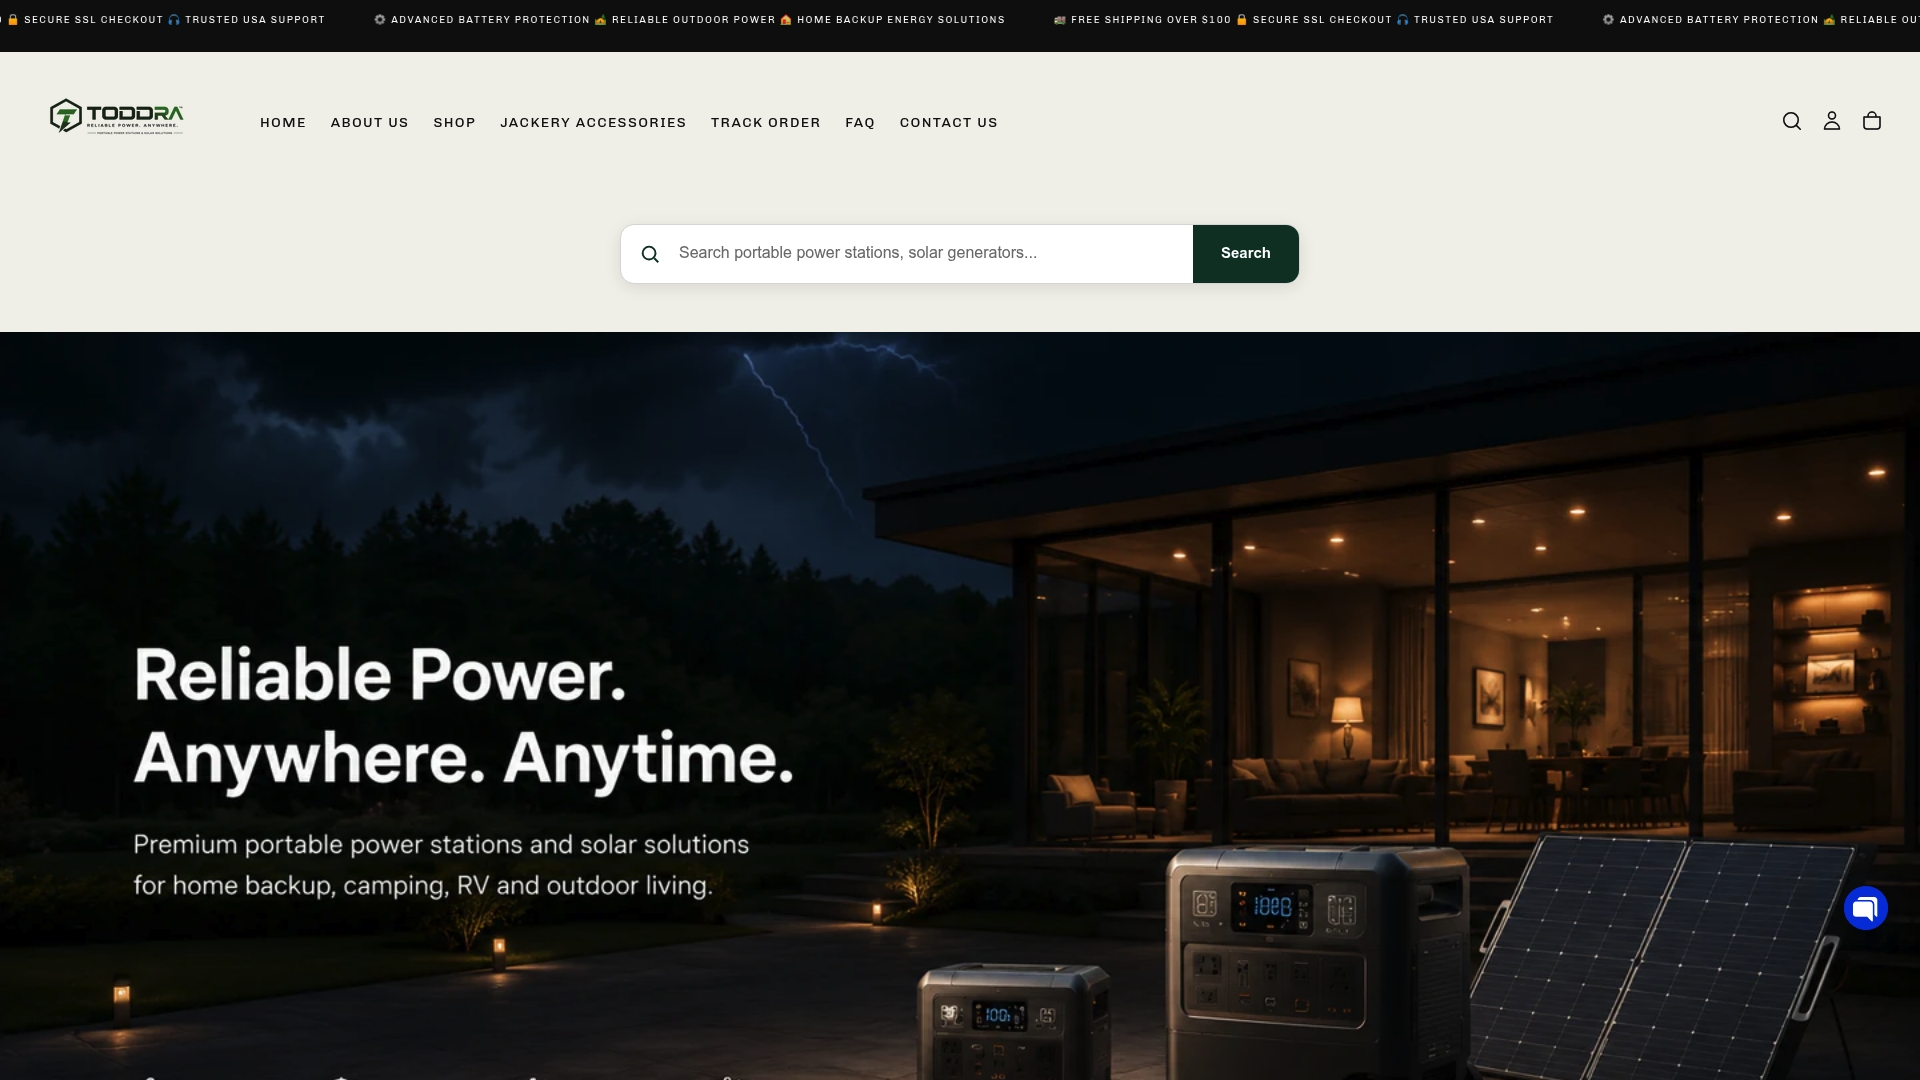
The Jackery Solar Generator 2000 Plus delivers 2,042Wh of LiFePO4 capacity and 3,000W of output, making it a strong fit for overlanders and comfort campers who need to power appliances and multiple devices simultaneously. For campers who want to grow their system over time, Toddra also offers expansion battery options that pair directly with compatible generators. US-based customer support and secure checkout make the buying process straightforward and trustworthy.
FAQ
What is a solar-powered camping setup?
A solar-powered camping setup is a portable energy system that uses solar panels to charge a battery-based power station, which then powers devices and appliances at camp. The core components are a solar panel, a power station, and the cables connecting them.
How much solar power do I need for car camping?
A 200W solar panel paired with a 1,000Wh power station covers most car camping needs, including a portable fridge, phones, tablets, and lighting. This combination generates 1,000–1,400Wh per day under full sun.
What is the best battery type for off-grid camping setups?
LiFePO4 (lithium iron phosphate) is the best battery chemistry for off-grid camping. It handles deep discharge cycles well, delivers stable output across temperatures, and lasts significantly longer than standard lithium-ion batteries.
How do I keep my power station performing well in cold weather?
Store your power station inside your tent or an insulated bag overnight. Cold temperatures increase battery internal resistance and reduce usable capacity, so keeping the unit warm preserves its performance for morning solar charging.
Can I use solar power for backpacking?
Yes. A 60–120W foldable panel paired with a 200–300Wh power bank keeps total system weight at 5–7 lbs and charges smartphones, GPS units, headlamps, and cameras reliably throughout a multi-day trip.