

A solar panel campsite charging setup is a portable energy system that converts sunlight into usable electricity to power devices at remote campsites. The core components are solar panels, a charge controller, a battery or power station, and the cables connecting them. Done right, this kind of camping solar power system gives you reliable, sustainable power without a generator or shore hookup. Whether you need to charge phones, run LED lights, or keep a 12V fridge cold, the right setup makes all of it possible off-grid.
How to choose the right solar panel and battery setup for camping
Sizing your system starts with knowing how much power your devices actually consume. Two phones and a set of LED lights use roughly 215Wh per day. Add a 12V camping fridge and that number jumps by 400–550Wh per day. That single device more than triples your energy needs.
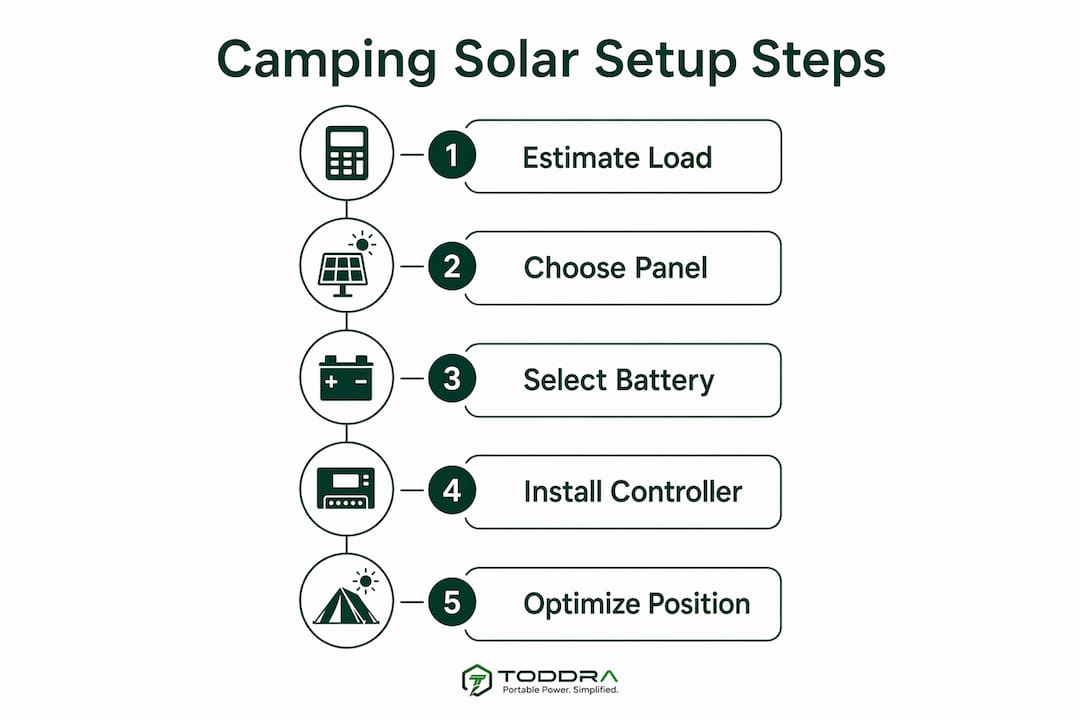
Panel wattage recommendations follow directly from those numbers. 100W panels work well for basic weekend car camping where you are charging phones and running lights. Extended trips with a fridge or multiple devices call for 200–400W of panel capacity. More wattage means faster charging and a larger buffer on cloudy days.
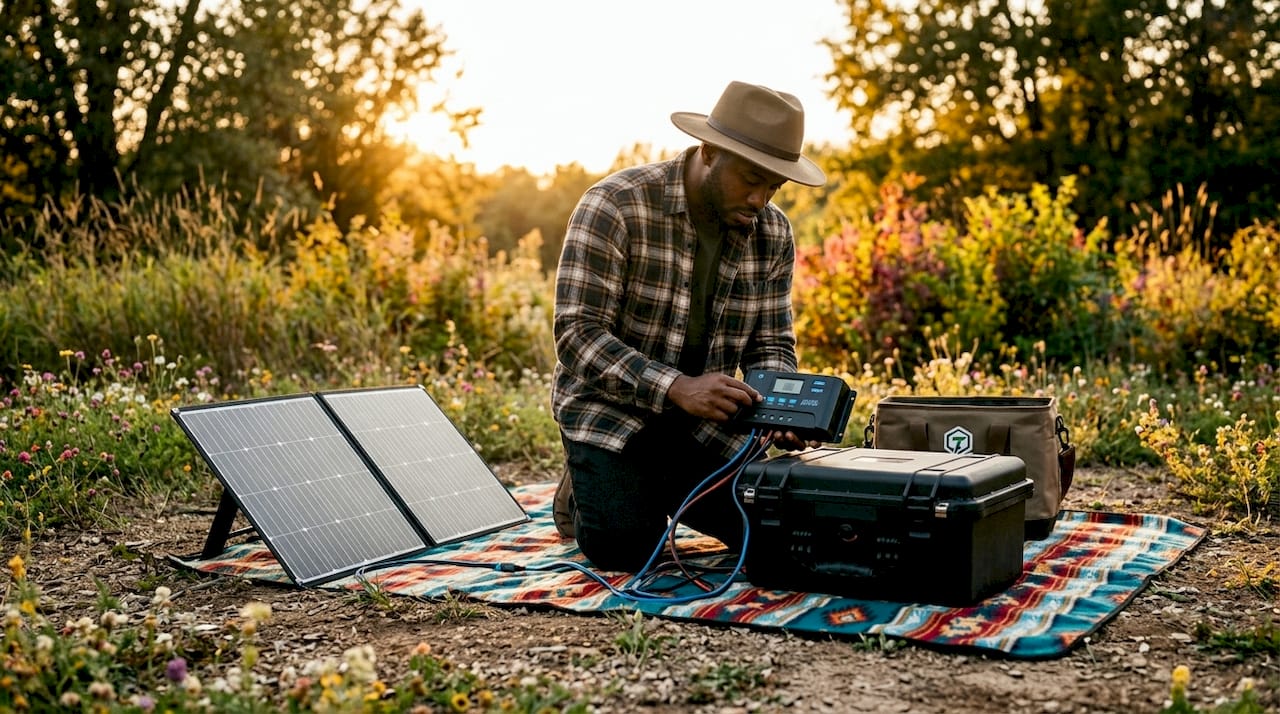
The battery you pair with your panels matters just as much as the panels themselves. LiFePO4 batteries lead in cycle life and safety, making them the preferred technology for campsite power in 2026. They handle deep discharges better than older lithium-ion designs and carry a lower risk of overheating. Products like the Jackery Explorer 1500 Ultra use LiFePO4 cells specifically for this reason.
Portability and connector compatibility round out your equipment checklist. Foldable panels pack flat and set up in minutes. Check that your panel’s output connector matches your charge controller or power station input. MC4 connectors are standard on most foldable panels, but adapters are sometimes needed for certain power stations.
Panel wattage vs. typical camping load:
| Panel wattage | Best for | Typical daily output (5 sun hours) |
|---|---|---|
| 100W | Phones, lights, small fans | ~500Wh |
| 200W | Phones, lights, small fridge | ~1,000Wh |
| 400W | Fridge, laptop, multiple devices | ~2,000Wh |
Pro Tip: Before buying, list every device you plan to run and note its wattage. Add those numbers up and multiply by the hours of daily use. That total is your minimum daily Wh requirement. Size your panel to cover it in 5–6 hours of good sun.
You can also read the power station sizing guide on the Toddra blog for a deeper breakdown of matching wattage to specific camping loads.
What is the best way to position solar panels at camp?
Panel placement is the single biggest factor in how much power you actually collect each day. A well-placed 100W panel consistently outperforms a 200W panel sitting in partial shade.
Follow these steps for maximum output:
- Choose an open, unobstructed spot. Face panels due south if you are camping in the Northern Hemisphere. Trees, tents, and gear cast shadows that kill output.
- Set the tilt angle. Angle panels at roughly 15°–30° to match your latitude. A steeper tilt in spring and fall, a shallower one in summer, gets you closer to peak efficiency.
- Reposition every 2–3 hours. The sun moves roughly 15 degrees per hour. Manual tracking every 2–3 hours can increase your daily energy harvest by 20–30%. That is a meaningful gain on a multi-day trip.
- Check for shade throughout the day. A shadow that misses your panel at 9 a.m. may cover it by noon. Walk your site and observe sun movement before you commit to a spot.
- Route cables safely. Keep cables flat against the ground or secured to a pole. Loose cables are a trip hazard and can pull connectors loose.
Shade deserves special attention. Partial shading on even a small portion of a solar panel can reduce total system output by 50–90%. That drop happens because solar cells in a panel are wired in series. One shaded cell drags down every cell in that string. A shadow the size of your hand can cut your panel’s output in half.
Pro Tip: Set up your panels first thing in the morning and note where shadows fall at different times. Use a stick in the ground to track shadow movement. This 10-minute exercise saves hours of underperformance.
How do you connect solar panels, charge controllers, and batteries safely?
Safe wiring follows a specific order. Skipping steps or reversing the sequence can damage your charge controller or battery.
- Connect the panel to the charge controller first. This lets the controller read the panel’s voltage before it sees the battery. Connecting panels to the controller before the battery prevents voltage spikes that can fry the controller’s internal circuits.
- Connect the charge controller to the battery. The controller now has a reference voltage and can regulate charging correctly.
- Connect your devices or inverter to the battery or power station output. Never connect devices directly to the solar panel.
- Verify polarity before every connection. Red is positive, black is negative. A reversed connection can permanently damage electronics.
- Check the display or app. Most modern charge controllers and power stations show input wattage, battery percentage, and estimated charge time.
“The correct connection order is: solar panel to charge controller, then charge controller to battery. This sequence protects both the controller and the battery from voltage damage.” — davidzer.com
Charge controller types compared:
| Controller type | Efficiency | Best for |
|---|---|---|
| PWM (Pulse Width Modulation) | 70–80% | Small, budget setups under 200W |
| MPPT (Maximum Power Point Tracking) | 93–97% | Larger systems, 200W and above |
MPPT controllers cost more but recover significantly more energy from your panels. For a 400W system running a fridge, an MPPT controller pays for itself quickly in recovered power.
Pro Tip: Use MC4 connector tools to check that each connection is fully seated. A loose MC4 connector causes intermittent power loss that looks like a panel fault but is actually a wiring issue.
Common mistakes and how to troubleshoot your campsite solar system
Most campsite solar problems trace back to a small set of avoidable errors. Knowing what to look for saves you from a dead battery at the worst moment.
- Ignoring partial shade. Even a thin branch crossing your panel cuts output dramatically. Move the panel or trim the obstruction. Check output on your controller display before and after to confirm the fix.
- Charging LiFePO4 batteries in cold weather. LiFePO4 batteries cannot be safely charged below 32°F (0°C). Charging in freezing temperatures causes internal damage that shortens battery life. Wait until the battery warms up or store it inside your tent overnight.
- Skipping the voltage check. Before assuming a panel is faulty, use a multimeter to measure its open-circuit voltage. A healthy 100W panel in full sun reads around 20–22V. A reading near zero points to a wiring fault or a failed bypass diode.
- Dirty panels. Dust, pollen, and bird droppings reduce output. Wipe panels with a damp cloth each morning. A clean panel in full sun always outperforms a dirty one.
- Undersized cables. Thin cables overheat and lose power to resistance. Use 10 AWG wire for runs under 10 feet on a 200W system. Longer runs need heavier gauge.
Pro Tip: Carry a small multimeter on every trip. It weighs almost nothing and lets you diagnose panel voltage, battery voltage, and connection faults in under two minutes.
The portable solar panel benefits guide on the Toddra blog covers additional field tips for keeping your system running reliably across different terrain and weather conditions.
Key takeaways
A reliable solar panel campsite charging setup requires correctly sized panels, a LiFePO4 battery, an MPPT charge controller, and proper panel placement in unobstructed southern exposure.
| Point | Details |
|---|---|
| Size panels to your load | 100W covers phones and lights; add a fridge and you need 200–400W minimum. |
| LiFePO4 is the right battery tech | It offers longer cycle life and better safety, but never charge it below 32°F. |
| Connection order prevents damage | Always connect panel to controller first, then controller to battery. |
| Shade kills output fast | Partial shading can drop system output by 50–90% due to series cell wiring. |
| Manual tracking adds real power | Repositioning panels every 2–3 hours can increase daily harvest by 20–30%. |
What I have learned from running solar at remote campsites
I have set up camping solar power systems in conditions ranging from high desert in july to forested mountains in october, and the lessons from those trips rarely match what you read in spec sheets.
The biggest surprise for most first-timers is how aggressively shade punishes output. I once watched a 200W foldable panel drop to under 30W because a single tent pole cast a shadow across one corner. Moving the panel six feet solved it instantly. The fix took 30 seconds. The lesson took an embarrassing afternoon to learn.
My honest recommendation: start with a quality all-in-one solar generator rather than building a DIY system from separate components. Products that integrate the battery, controller, and inverter in one unit are far easier to troubleshoot and transport. Once you understand your actual daily power consumption after a few trips, you can expand with additional panels or a battery pack.
Test your full setup at home before you leave. Run it for a full day in your backyard. Charge your fridge, your phone, your lights. Confirm that your panel actually hits its rated wattage in your local conditions. Discovering a connector incompatibility in your driveway is far better than discovering it 40 miles from the nearest town.
The campers who get the most from solar are not the ones with the biggest panels. They are the ones who understand their load, place their panels with care, and check their system each morning. That discipline matters more than wattage.
— Jackson
Reliable campsite power from Toddra
Toddra carries a carefully selected range of portable power stations and solar generators built for exactly the kind of off-grid camping described in this guide.
The Jackery Solar Generator 2000 Plus pairs a 2,042Wh LiFePO4 battery with 3,000W output, making it a strong match for campers running a fridge alongside multiple devices. For campers who want to start smaller, the Jackery Explorer 1500 Ultra offers 1,536Wh of LiFePO4 capacity in a portable form factor. Toddra’s US-based customer support team can help you confirm panel and station compatibility before you buy.
FAQ
What size solar panel do I need for camping?
A 100W panel covers basic needs like phone charging and LED lights. Add a 12V fridge or plan for extended trips and you need at least 200–400W of panel capacity.
Can I charge a LiFePO4 battery in cold weather?
LiFePO4 batteries cannot be safely charged below 32°F (0°C). Charging in freezing temperatures causes internal damage. Warm the battery to above freezing before connecting your solar panels.
What is the correct order to connect a campsite solar system?
Connect the solar panel to the charge controller first, then connect the controller to the battery. This order prevents voltage spikes that can damage the controller.
How much does shade affect solar panel output?
Partial shading on even a small section of a panel can reduce total output by 50–90%. Solar cells wired in series mean one shaded cell pulls down the entire panel’s production.
Do I need an MPPT or PWM charge controller for camping?
PWM controllers work for small setups under 200W. MPPT controllers recover 93–97% of available panel power and are the better choice for any system running a fridge or multiple devices.